Hello Graphic Designing friends! I have been a Graphic Designer for almost 8 years now! I am in love with Photoshop and can’t imagine my job without it!! However, for the first year of my Graphic Design career I used Gimp and it got the job done! So if you are looking for a great software without the investment. You should try GIMP!
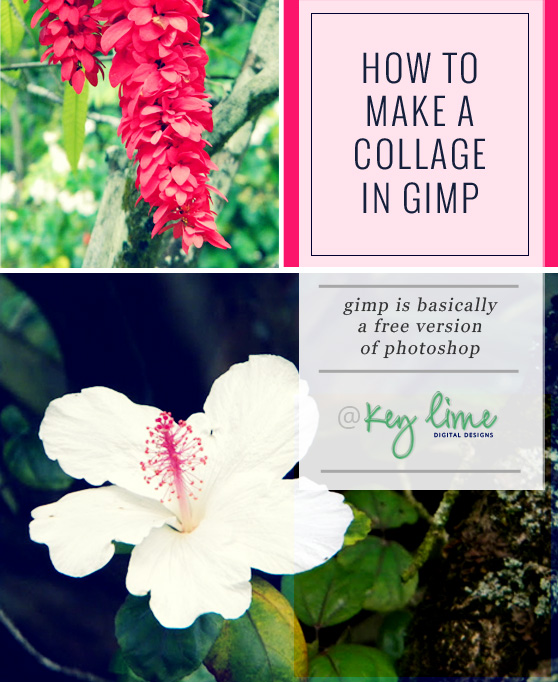
Gimp is a free photo editing program. Basically a free version of photoshop. Like I said, minus lots of bells and whistles, but still a photo editing program. You can download gimp for free here! I’m going to show you how to make a collage similar to this one.This is a fun way to organize pictures in your blog post, especially if you have a lot of pictures you would like to share!

Now lets get started!
You can click on any picture you see it bigger.
Open Gimp > File > New > Set Width and Height to whatever size you want. I am going to use 600 x 400. Change the x and y resolution to 300. Set “fill with” to background color.

Now go to file > open as layer. Find the first picture you want to use and push ok.
Your picture will probably be huge.

Now click on the “layers tab” on the tool panel.

Now right click on the layer that has your picture. Choose “scale layer”

Change the width to 400.
When you click in the height box it will automatically adjust to keep the right proportions for your picture.
The press scale.

Now we need to move the picture to where we want it.
We need to select the “move” icon in the toolbar.

Now click on you picture and drag it to where you want it.

Now I am going to open another picture.
File > Open as Layer > Add your picture.
Then right click on the layer > scale layer.
This time I am going to make the width 200 and the height 150.


I want my picture to be rotated so I am going to click the “rotate tool”

Click on the picture. This box will pop up.
Rotate -90 degrees.

Now move the picture {click the move tool}

Now open your next picture.
File > open as layer.
Right click on the layer > scale layer
This time I am doing width: 100 and height: 113


Now I am going to use the “crop tool” to cut off the extra background space.

Now use the cursor to highlight the area you want to keep.

Then click inside the area you are keeping.

Now let’s add some text! Click the “text tool”

Now click and make a box. It doesn’t matter where it is or how big it is.

Type your text.

You can change the font by clicking the tab that has “Aa”

Once you pick your font you can change the size by clicking back on the “text tab”

You can move your text by clicking and dragging.

Now I am going to make one final crop.

Ta da! Now you have a picture collage.
To save:
File > Save As >
type your file name and add .jpg to the end
There are so many ways to use gimp!
Experiment & have fun!
If you have any questions or get stuck at all leave a comment or email me.
*Note: You might also find this post helpful —> How to Become a Graphic Designer
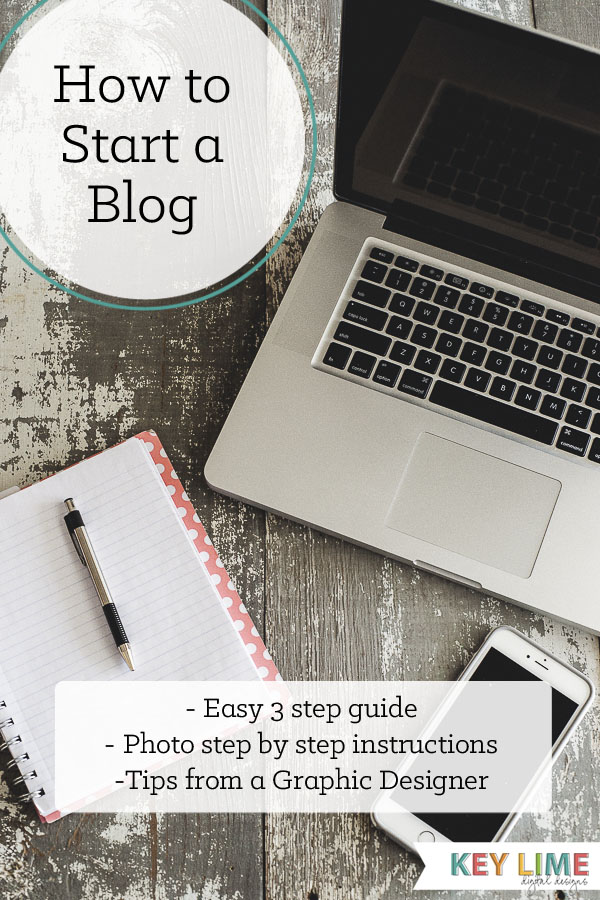
Now that you have a collage you can post it on your blog!
Don’t have a blog?
Starting one is easy! >>>
I have been trying to figure this out forever!! Thank you. And I’m a new follower.
I am in TOTAL shock that I understood this! YOU ARE A GENIUS!
I figured there was a way to do this without too much headache. Thank you for sharing! I just won the blog re-design from Tatertots & Jello and I am SUPER excited to work with you!
Well hey!
I was looking for a way to do this last night and when I Googled it, your blog popped up! Too funny and neat, seeing as your designing a custom design for me come January:) Thanks for this tutorial and for making it look so simple; which it was!
Wow. Exactly what I have been looking for. The presentation of your instruction is first class. Can’t wait to try this for my sewing blog. Thank you.
I don’t need a lot of bells and whistles but since picnik.com went away, I was dying to find another way to edit my photos and stuff. Thank you so much for the tutorial. I’ll be using this for my blog and for photos at work!
Hey Thanks a lot :)
Thanks for this! I made a collage but I don’t like the size of the pictures once it was done. How do you go back and resize each picture once the collage is saved?
Well, all I have to say is just about what everyone said! :)) But I will also add my own thank you, thank you, thank you!!!! Very well explained & opens up soooo many new possibilities for me, in numerous future creative pursuits!!! VERY pleased & grateful :))
thank you so much very easy to understand!
Awesome and simple tutorial! Thanks so much for taking the time to put it together!
Hey just awesome & simple..thanks a lot..
I just made a Halloween collage thanks to your wonderful help!
thank you so much for this! i needed to know how to organize pics in gimp. you rock, god bless!
tHANKS A MILLION!!!!!!!
tHIS WAS VERY VERY HELPFUL!
GREAT PICTURED USED AS AN EXAMPLE TOO!
This was just what I was looking for. Thanks for the helpful outline of the process!
Thanks for such a clear and concise tutorial. I’ve been wanting to learn how to do this for a while and can’t wait to start applying this to my pictures.
i don’t GET IT…
HEY Y’ALL!
Hey thanks! This was super helpful! Great directions!
I just wanted to say Thank you! I haven’t found Gimp to be the most user friendly so far, so this really helped!
MANY THANKS!
i understood it first thing, it was easy as, great work :)
Thank you!!! SOOOOOO helpful!
Very easy, thanks! I love gimp!
I can’t get the yellow dotted line out of the picture and I can’t get it out of the gimp to post anywhere or use. What am I doing wrong? Please help. Thanks.
You can save it as a .jpg by just adding .jpg at the end of the file name when you are saving it. And to remove the line you can just grab it when you are using the marquee tool and move it over :) hope that helps!
Verу nice blog post. I certainly appreciate thios website.
Тhanks!
Hey! Do you use Twitter? I’d like to follow you if that would be okay.
I’m absolutely enjoying your blog and look forward
to new updates.
You have explained the easiest way to create collage in gimp. Thank you for sharing
Greetings from Idaho! I’m bored to death at work so I decided to check out your
blog on my iphone during lunch break. I really like the
info you provide here and can’t wait to take a look when I get home.
I’m amazed at how fast your blog loaded on my phone ..
I’m not even using WIFI, just 3G .. Anyways, fantastic blog!
This is a great tutorial!! Thanks so much for the help!!! :)
When I initially commented I clicked the “Notify me when new comments are added” checkbox and now each time a comment is added I get four e-mails with the
same comment. Is there any way you can remove people from that service?
Bless you!
Hi! I think you can go back to the post and un subscribe :)
Thanks!
Hi Kendra,
Thank you so much for the guide,
I have a quick question
I am trying to crop a photo, within a collage, but every time gimp just crops the whole collage! Very frustrating. Any ways around this?
-Chris
A big thank you for a very simple to follow tutorial, I have been tearing my hair out at other tutorials as they have been quite complicated. I just finished my first collage for a dear friend and it only took about 20 minutes to do. I shall be visiting your site more often.
Great info. Lucky me I came across your site by accident (stumbleupon).
I have saved as a favorite for later!
Thank you so much. I thought it would be harder than this. :)